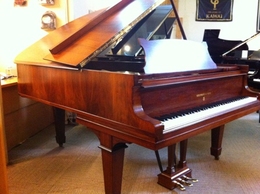
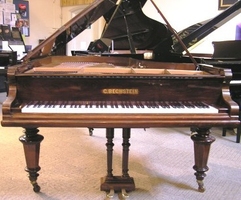
Clement Pianos were commissioned to rebuild this piano by a Nottinghamshire college in 2012. Here we give you a brief look at the process involved in restoring a piano back to its former glory.
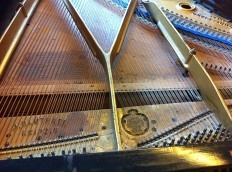
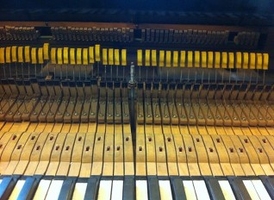
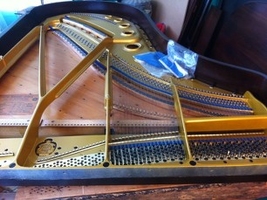
Once the piano has arrived at our workshops, the first thing to do is remove the main piano lid and other case parts to give access to the strings, dampers and action. Here we see the piano back with the dampers already removed

Once the dampers have been removed, the next task is to de-tension the strings before they can be removed.

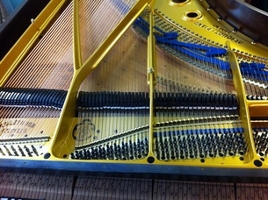
Here we see all the strings have been removed and we can now start removing the wrest pins (tuning pins).
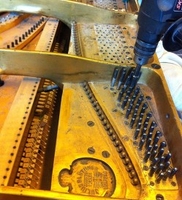
Once all of the wrest pins have been removed, the brass face plates can be unscrewed and removed ready to be polished.
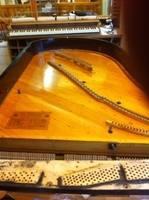
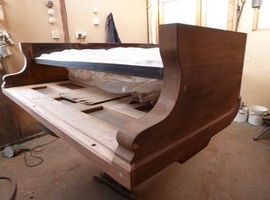
Once the cast iron frame has been removed the bridges are overhauled and the soundboard stripped and re-finished. Once this process is complete the piano is ready for the case to be stripped and repolished.
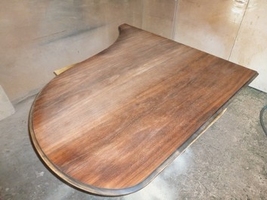
This is the main section of the piano lid. It has been stripped and sanded ready to be stained and polished.
Every part of the case is stripped and sanded back to the original veneers.
At this stage the final colour is chosen before stain is applied.
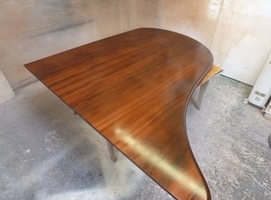
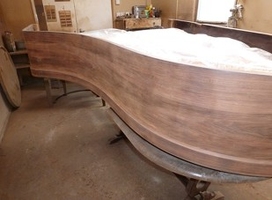
Once the stain and polish are applied, the wood really starts to come to life showing all its natural beauty.
While the case work is being re-polished we start work on the action and keys. Here we see the keys after the action has been removed.
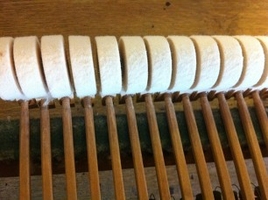
On this particular pianos the hammer heads had been replaced only a few years ago so we reshaped the existing felts rather than replacing them with new ones.
The white key coverings have been removed ready for the keys to be prepared to take new key tops.
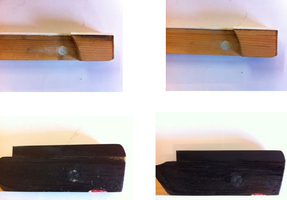
Once the key tops have been fitted and shaped, the sides of the keys are then cleaned (white keys) or stained (black keys) before being fitted back onto the key frame. Pictures on the left are before, pictures on the right after after.
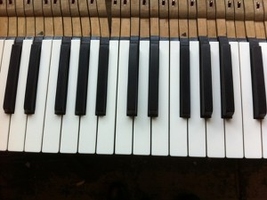
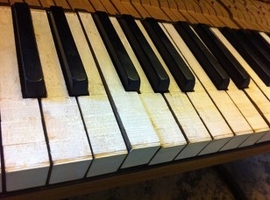
Here are the keys with new white tops, shaped, cleaned and back on the key frame ready to take the action.
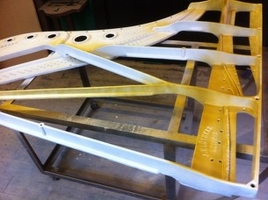
Once the cast iron frame has been removed, it is cleaned, sanded and primed ready for the gold top coats to be applied. Here we see the gold being sprayed over the white primed frame.
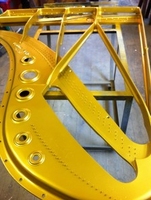
The frame having received 6 - 8 coats of gold.
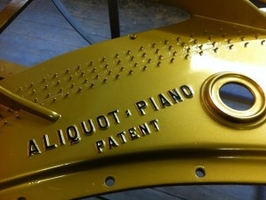
Once the gold is finished, all the frame detail is repainted by hand before the final top coats of laquer are applied to give the frame a deep sheen.

The old damper felts are removed. The damper heads are then cleaned along with the wires. Once this has been done new damper felts are fitted ready to be installed back into the piano.
Once the case has been repolished and the frame re-finished it is fitted back into the piano. At this point we check the bearing on the bridges to ensure the correct down pressure in order to achieve the optimum tone. Here we see the frame back in the piano and the new strings being fitted.
Here we see the dampers back in the piano, all the new strings fitted including the custom made copper bass strings. The piano has undergone several 'chip' tunings by this stage to raise the new strings to pitch.
At this point, the keys are levelled, the depth of touch is set and the action is fitted back into the piano ready to be regulated. Once the action has been fine regulated the piano receives a fine tuning and then the hammers are voiced to ensure an even tone throughout the whole range of the instrument. The piano is then ready to be returned to its owner or to be placed in our showrooms.
If you would to know more about our piano rebuilding work, please do not hesitate to contact Andy Wilson who will be happy to discuss any details with you or even arrange for you to visit our workshops.